fuse-ext2
macOS 에선 EXT4 같은 리눅스 파일 시스템이 지원되지 않습니다.
편하게 사용하기 위해선 Paragon Software에서 나온 extFS for Mac 이라는 프로그램을 설치하면 되는데, 이게 쉐어웨어라 구매하지 않으면 10일밖에 사용할 수 없어요. 윈도우에선 속도 제한있는 무기한이면서..
대안을 찾아보니 osxfuse 기반의 fuse-ext2 라는 무료 프로그램이 있었습니다. 아직은 쓰기 작업이 조금 불안하다고 하는데 복잡한 작업이 아니라면 임시로 쓰기엔 괜찮은 것 같습니다. ㅎㅎ
설치
fuse-ext2 개발 Github 페이지에 설치 방법이 잘 정리되어 있습니다. 간단하게 이 쪽에 옮겨 적어볼게요.
Xcode 설치
일단 Xcode command line tools를 사용하기 위해 Xcode가 필요합니다. 복잡할 거 없이 macOS에서 프로그램 빌드/개발 하려면 Xcode를 쓰던 안 쓰던 깔아줘야 해요.
App Store에서 설치해주시면 됩니다.
그리고 터미널을 열어 아래 명령어를 입력해주세요.
sudo xcode-select --install
sudo xcode-select -s /Applications/Xcode.app/Contents/Developer
osxfuse 설치
터미널을 열고 brew 를 사용해 osxfuse를 설치합니다.
brew tap homebrew/cask
brew tap
brew cask install osxfuse
fuse-ext2 설치
그리고 아래 내용으로 script.sh 란 파일을 만듭니다. script.sh란 이름이 아니어도 되지만 install.sh 로 하지는 말라고 하네요.
vi 를 쓰시는 경우 아래처럼 해주시면 되겠네요.
vi script.sh#!/bin/sh
export PATH=/opt/gnu/bin:$PATH
export PKG_CONFIG_PATH=/opt/gnu/lib/pkgconfig:/usr/local/lib/pkgconfig:$PKG_CONFIG_PATH
mkdir fuse-ext2.build
cd fuse-ext2.build
if [ ! -d fuse-ext2 ]; then
git clone https://github.com/alperakcan/fuse-ext2.git
fi
# m4
if [ ! -f m4-1.4.17.tar.gz ]; then
curl -O -L http://ftp.gnu.org/gnu/m4/m4-1.4.17.tar.gz
fi
tar -zxvf m4-1.4.17.tar.gz
cd m4-1.4.17
./configure --prefix=/opt/gnu
make -j 16
sudo make install
cd ../
# autoconf
if [ ! -f autoconf-2.69.tar.gz ]; then
curl -O -L http://ftp.gnu.org/gnu/autoconf/autoconf-2.69.tar.gz
fi
tar -zxvf autoconf-2.69.tar.gz
cd autoconf-2.69
./configure --prefix=/opt/gnu
make
sudo make install
cd ../
# automake
if [ ! -f automake-1.15.tar.gz ]; then
curl -O -L http://ftp.gnu.org/gnu/automake/automake-1.15.tar.gz
fi
tar -zxvf automake-1.15.tar.gz
cd automake-1.15
./configure --prefix=/opt/gnu
make
sudo make install
cd ../
# libtool
if [ ! -f libtool-2.4.6.tar.gz ]; then
curl -O -L http://ftpmirror.gnu.org/libtool/libtool-2.4.6.tar.gz
fi
tar -zxvf libtool-2.4.6.tar.gz
cd libtool-2.4.6
./configure --prefix=/opt/gnu
make
sudo make install
cd ../
# e2fsprogs
if [ ! -f e2fsprogs-1.43.4.tar.gz ]; then
curl -O -L https://www.kernel.org/pub/linux/kernel/people/tytso/e2fsprogs/v1.43.4/e2fsprogs-1.43.4.tar.gz
fi
tar -zxvf e2fsprogs-1.43.4.tar.gz
cd e2fsprogs-1.43.4
./configure --prefix=/opt/gnu --disable-nls
make
sudo make install
sudo make install-libs
sudo cp /opt/gnu/lib/pkgconfig/* /usr/local/lib/pkgconfig
cd ../
# fuse-ext2
export PATH=/opt/gnu/bin:$PATH
export PKG_CONFIG_PATH=/opt/gnu/lib/pkgconfig:/usr/local/lib/pkgconfig:$PKG_CONFIG_PATH
cd fuse-ext2
./autogen.sh
CFLAGS="-idirafter/opt/gnu/include -idirafter/usr/local/include/osxfuse/" LDFLAGS="-L/opt/gnu/lib -L/usr/local/lib" ./configure
make
sudo make install다시 터미널로 가서, 만든 파일에 실행 권한을 주고 같은 디렉토리에서 아래처럼 실행시켜줍니다.
chmod +x ./script.sh
./script.sh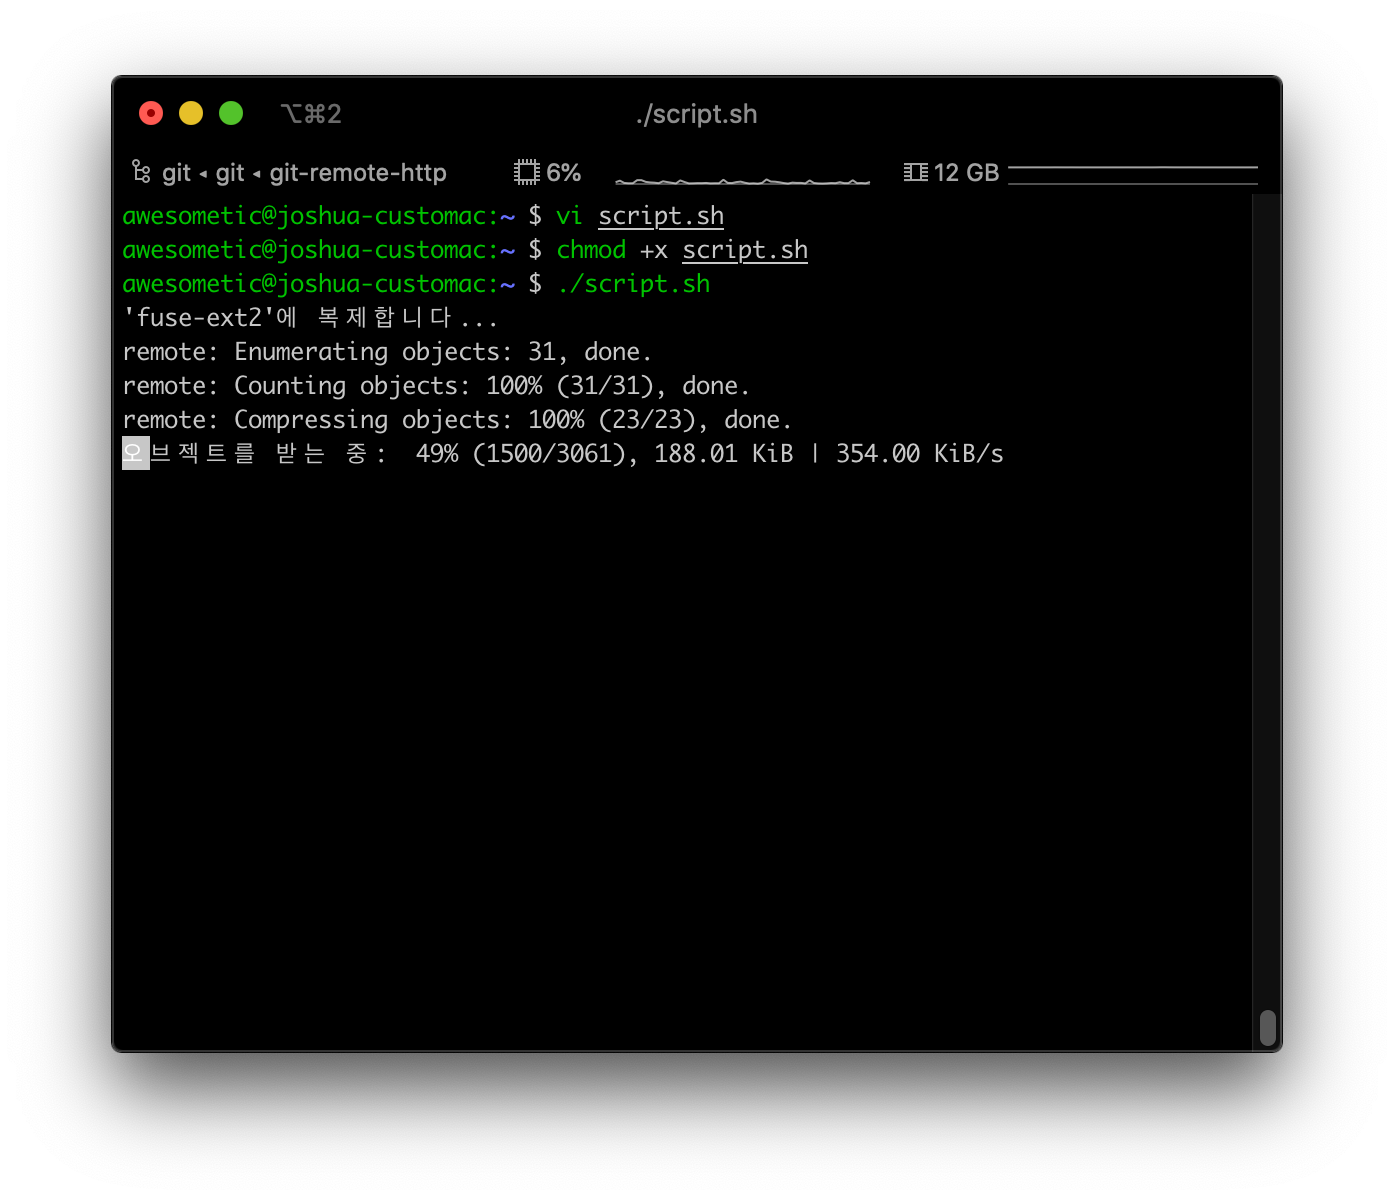
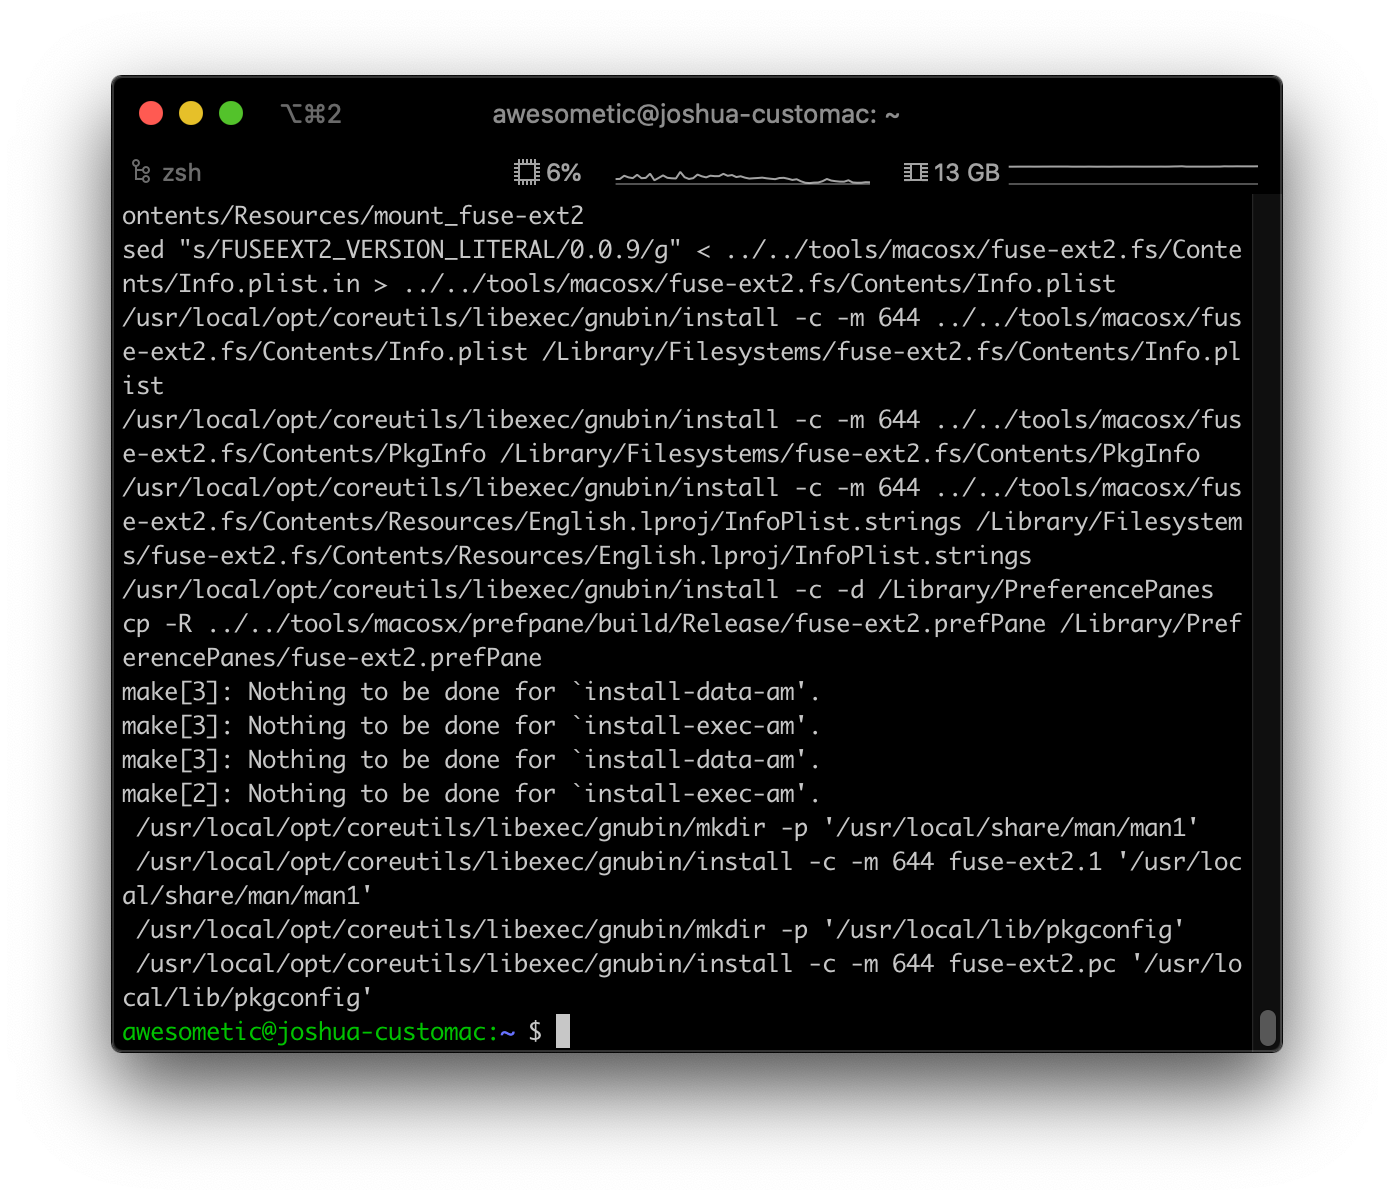
그럼 이렇게 알아서 설치가 됩니다. :)
시스템 설정에도 관련 메뉴가 생겨있을 거예요.
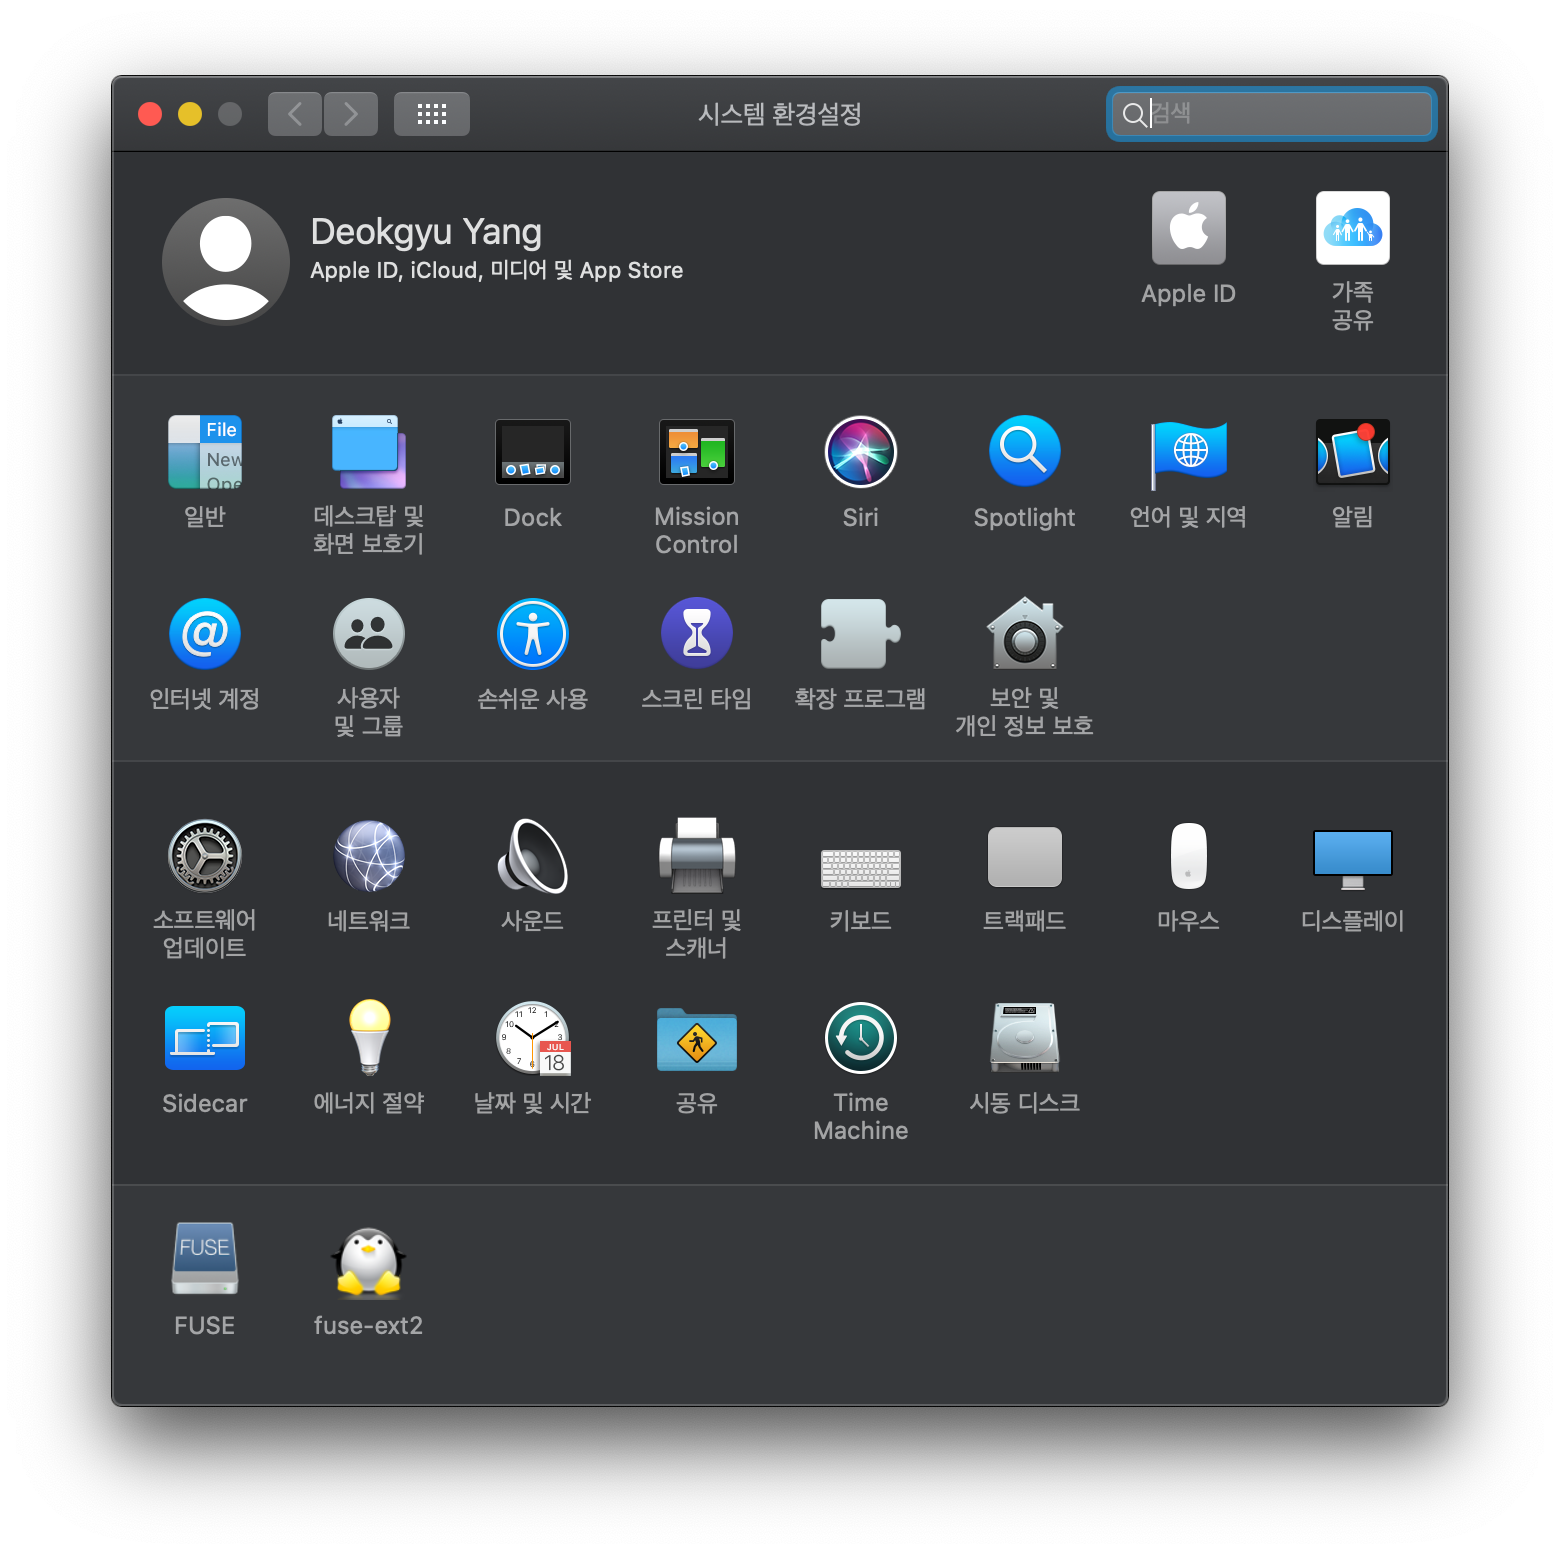
위 스크린샷처럼 시스템 환경설정에서 FUSE와 fuse-ext2 메뉴가 새로 생겨있다면 모든 설치가 완료된 것입니다.

fuse-ext2 에선 업데이트나 프로그램 제거를 할 수 있어요.
마지막으로 스크립트와 빌드 임시 파일들을 지워주시면 됩니다.
rm -rf fuse-ext2.build script.sh사용법
터미널을 통해서만 사용할 수 있습니다.
fuse-ext2 명령어를 쳤을 때 볼 수 있는 기본적인 사용 방법은 아래와 같습니다.
fuse-ext2

fuse-ext2 0.0.9 29 - FUSE EXT2FS Driver

Copyright (C) 2008-2015 Alper Akcan <alper.akcan@gmail.com>
Copyright (C) 2009 Renzo Davoli <renzo@cs.unibo.it>

Usage:    fuse-ext2 <device|image_file> <mount_point> [-o option[,...]]

Options:  ro, force, allow_other
          Please see details in the manual.

Example:  fuse-ext2 /dev/sda1 /mnt/sda1

http://github.com/alperakcan/fuse-ext2/
예를 들어, 오드로이드 N2 용 부트 미디어의 rootfs 디렉토리를 마운트 해보겠습니다.
연결 후 macOS에서 /dev/disk4 로 잡혔다면 아래와 같이 입력해 마운트합니다. rootfs 는 2번 파티션이니 /dev/disk4s2를 마운트하는 과정입니다.
awesometic@joshua-customac:~ $ sudo mkdir /Volumes/rootfs
awesometic@joshua-customac:~ $ sudo fuse-ext2 /dev/disk4s2 /Volumes/rootfs -o rw+
정상적으로 마운트됐는지 확인해볼게요.
awesometic@joshua-customac:~ $ ll /Volumes/rootfs
total 112K
drwxr-xr-x   2 root wheel 4.0K  2 25 00:04 bin
drwxr-xr-x   2 root wheel 4.0K  2 25 00:00 boot
drwxr-xr-x   4 root wheel 4.0K 11 22  2018 dev
drwxr-xr-x 135 root wheel  12K  3 17 12:02 etc
drwxr-xr-x   3 root wheel 4.0K  3 22  2019 home
drwxr-xr-x  20 root wheel 4.0K  3 22  2019 lib
drwx------   2 root wheel  16K 11 26  2018 lost+found
drwxr-xr-x  11 root wheel 4.0K 11 27  2018 media
drwxr-xr-x   2 root wheel 4.0K 11 22  2018 mnt
drwxr-xr-x   2 root wheel 4.0K 11 22  2018 opt
drwxr-xr-x   2 root wheel 4.0K  4 24  2018 proc
-rw-r--r--   1 root wheel 1.7K  2 25 00:05 resize.log
drwx------  16 root wheel 4.0K  3 13 18:52 root
drwxr-xr-x   5 root wheel 4.0K 11 22  2018 run
drwxr-xr-x   2 root wheel  12K  2 24 23:58 sbin
drwxr-xr-x   2 root wheel 4.0K  3 22  2019 snap
drwxr-xr-x   2 root wheel 4.0K 11 22  2018 srv
drwxr-xr-x   2 root wheel 4.0K  4 24  2018 sys
drwxrwxrwt   7 root wheel 4.0K  3 17 12:07 tmp
drwxr-xr-x  10 root wheel 4.0K 11 22  2018 usr
drwxr-xr-x  14 root wheel 4.0K  3 22  2019 var
awesometic@joshua-customac:~ $ df -Th
Filesystem     Type          Size  Used Avail Use% Mounted on
/dev/disk3s5   apfs          119G   11G   74G  13% /
/dev/disk3s4   apfs          119G  1.1G   74G   2% /private/var/vm
/dev/disk2s2   exfat         932G  419G  513G  45% /Volumes/HDD
/dev/disk4s1   msdos         128M   22M  107M  17% /Volumes/BOOT
/dev/disk4s2   osxfuse_ext2   15G  5.5G  8.4G  40% /Volumes/rootfs
물론 안에 파일/디렉토리를 생성할 수도 있습니다.
만약 읽기 전용 모드로 마운트한다면 뒤에 옵션만 바꿔주면 되겠죠.
awesometic@joshua-customac:~ $ sudo mkdir /Volumes/rootfs
awesometic@joshua-customac:~ $ sudo fuse-ext2 /dev/disk4s2 /Volumes/rootfs -o ro
다시 마운트 해제하는 건 umount 명령어를 사용하시면 됩니다.
awesometic@joshua-customac:~ $ sudo umount /Volumes/rootfs
awesometic@joshua-customac:~ $ df -Th
Filesystem     Type   Size  Used Avail Use% Mounted on
/dev/disk3s5   apfs   119G   11G   74G  13% /
/dev/disk3s4   apfs   119G  1.1G   74G   2% /private/var/vm
/dev/disk2s2   exfat  932G  419G  513G  45% /Volumes/HDD
/dev/disk4s1   msdos  128M   23M  106M  18% /Volumes/BOOT
몇 마디 더
근데 개발자도 말하듯, 아직 완전한 건 아닌 것 같습니다.
개발 Github 페이지의 Bug 문단을 보면,
- Multithread support is broken for now, so fuse operates in a single thread.
- There are no known bugs for read-only mode, read only mode should be ok for everyone.
- Even though write support is available, please do not mount your filesystems with write support unless you have nothing to lose.
이라고 되어 있습니다. 간단하게 말해서, 읽기 전용으로 마운트하고 읽는 용도로만 쓸 땐 문제가 없는데 쓰기 모드를 쓸 경우 문제가 생길 수 있다고 하네요. 잃어도 상관 없는 파일이 아니라면 쓰기 모드로 사용하지 말라고 합니다.
전 일단 쓰기 모드로 쓰고 있고, 엄청 간단한 작업만 해서 문제가 없나 싶은데, 혹시나 중요한 파일이 있는 외장 하드라던가 이런 건 최대한 읽기 전용으로 쓰셔야 할 것 같아요.
'Programming > OS, Program, Framework Tip' 카테고리의 다른 글
| 윈도우 10 개발 환경 셋팅하기 - 2 (0) | 2020.10.27 |
|---|---|
| 윈도우 10 개발 환경 셋팅하기 - 1 (2) | 2020.10.26 |
| macOS - AMD Ryzen 3900X + X570 Aorus Elite 해킨토시 성공 후기 / 벤치마크 / EFI 공유 (18) | 2019.11.25 |
| Linux - 우분투에서 HiDPI 적용하기 (18.04, 19.04, ...) (2) | 2019.10.22 |